 Holidays are coming and people who have them will make the way back to their ancestral homes. Parents and grandparents and great second what-have-yous-once-removed will be in abundance. Ask these people if they have any old cameras. You’re not looking for 35mm point and shoots, not looking for SLRs, or anything that takes a battery. You want “grand-dads first camera” or “the old Kodak”. Something that folds is good but a hulking box camera works too. They’ll give it to you, just ask.
If you haven’t got that, hit up friends to ask their own on your behalf.
Keep asking till you get a hold of a heavy thing anywhere from the size of a pack of cigarettes to a VHS cassette. On the smaller size you’ll have something taking 127 film, on the larger size something taking 616. Everything here applies to all the sizes in between. Now, they do still make 127 film, and they 120 too. Hell, they make adapters to use 120 where 116 or 616 should go, but we’re being cheap, so it doesn’t matter. This is gonna be cheaper than even the cheapest 35mm film.
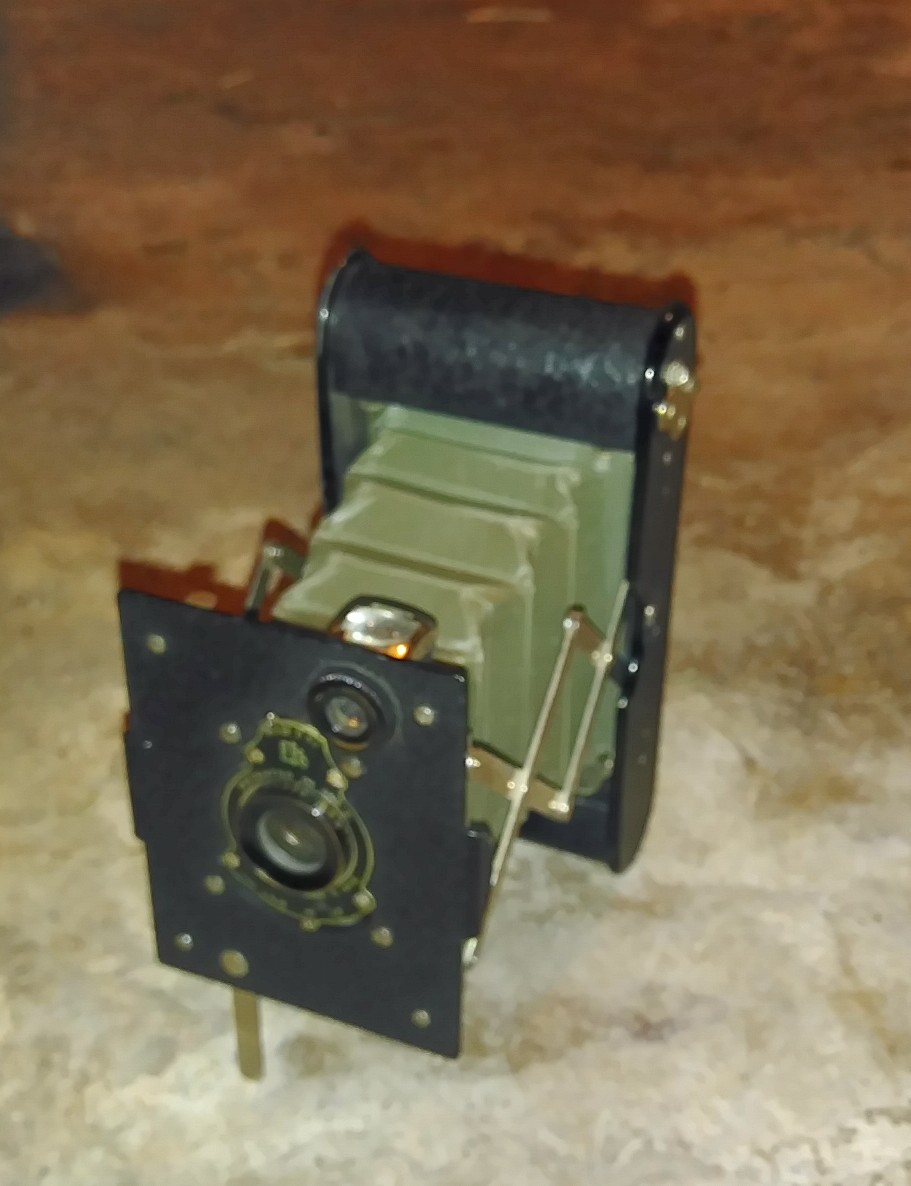
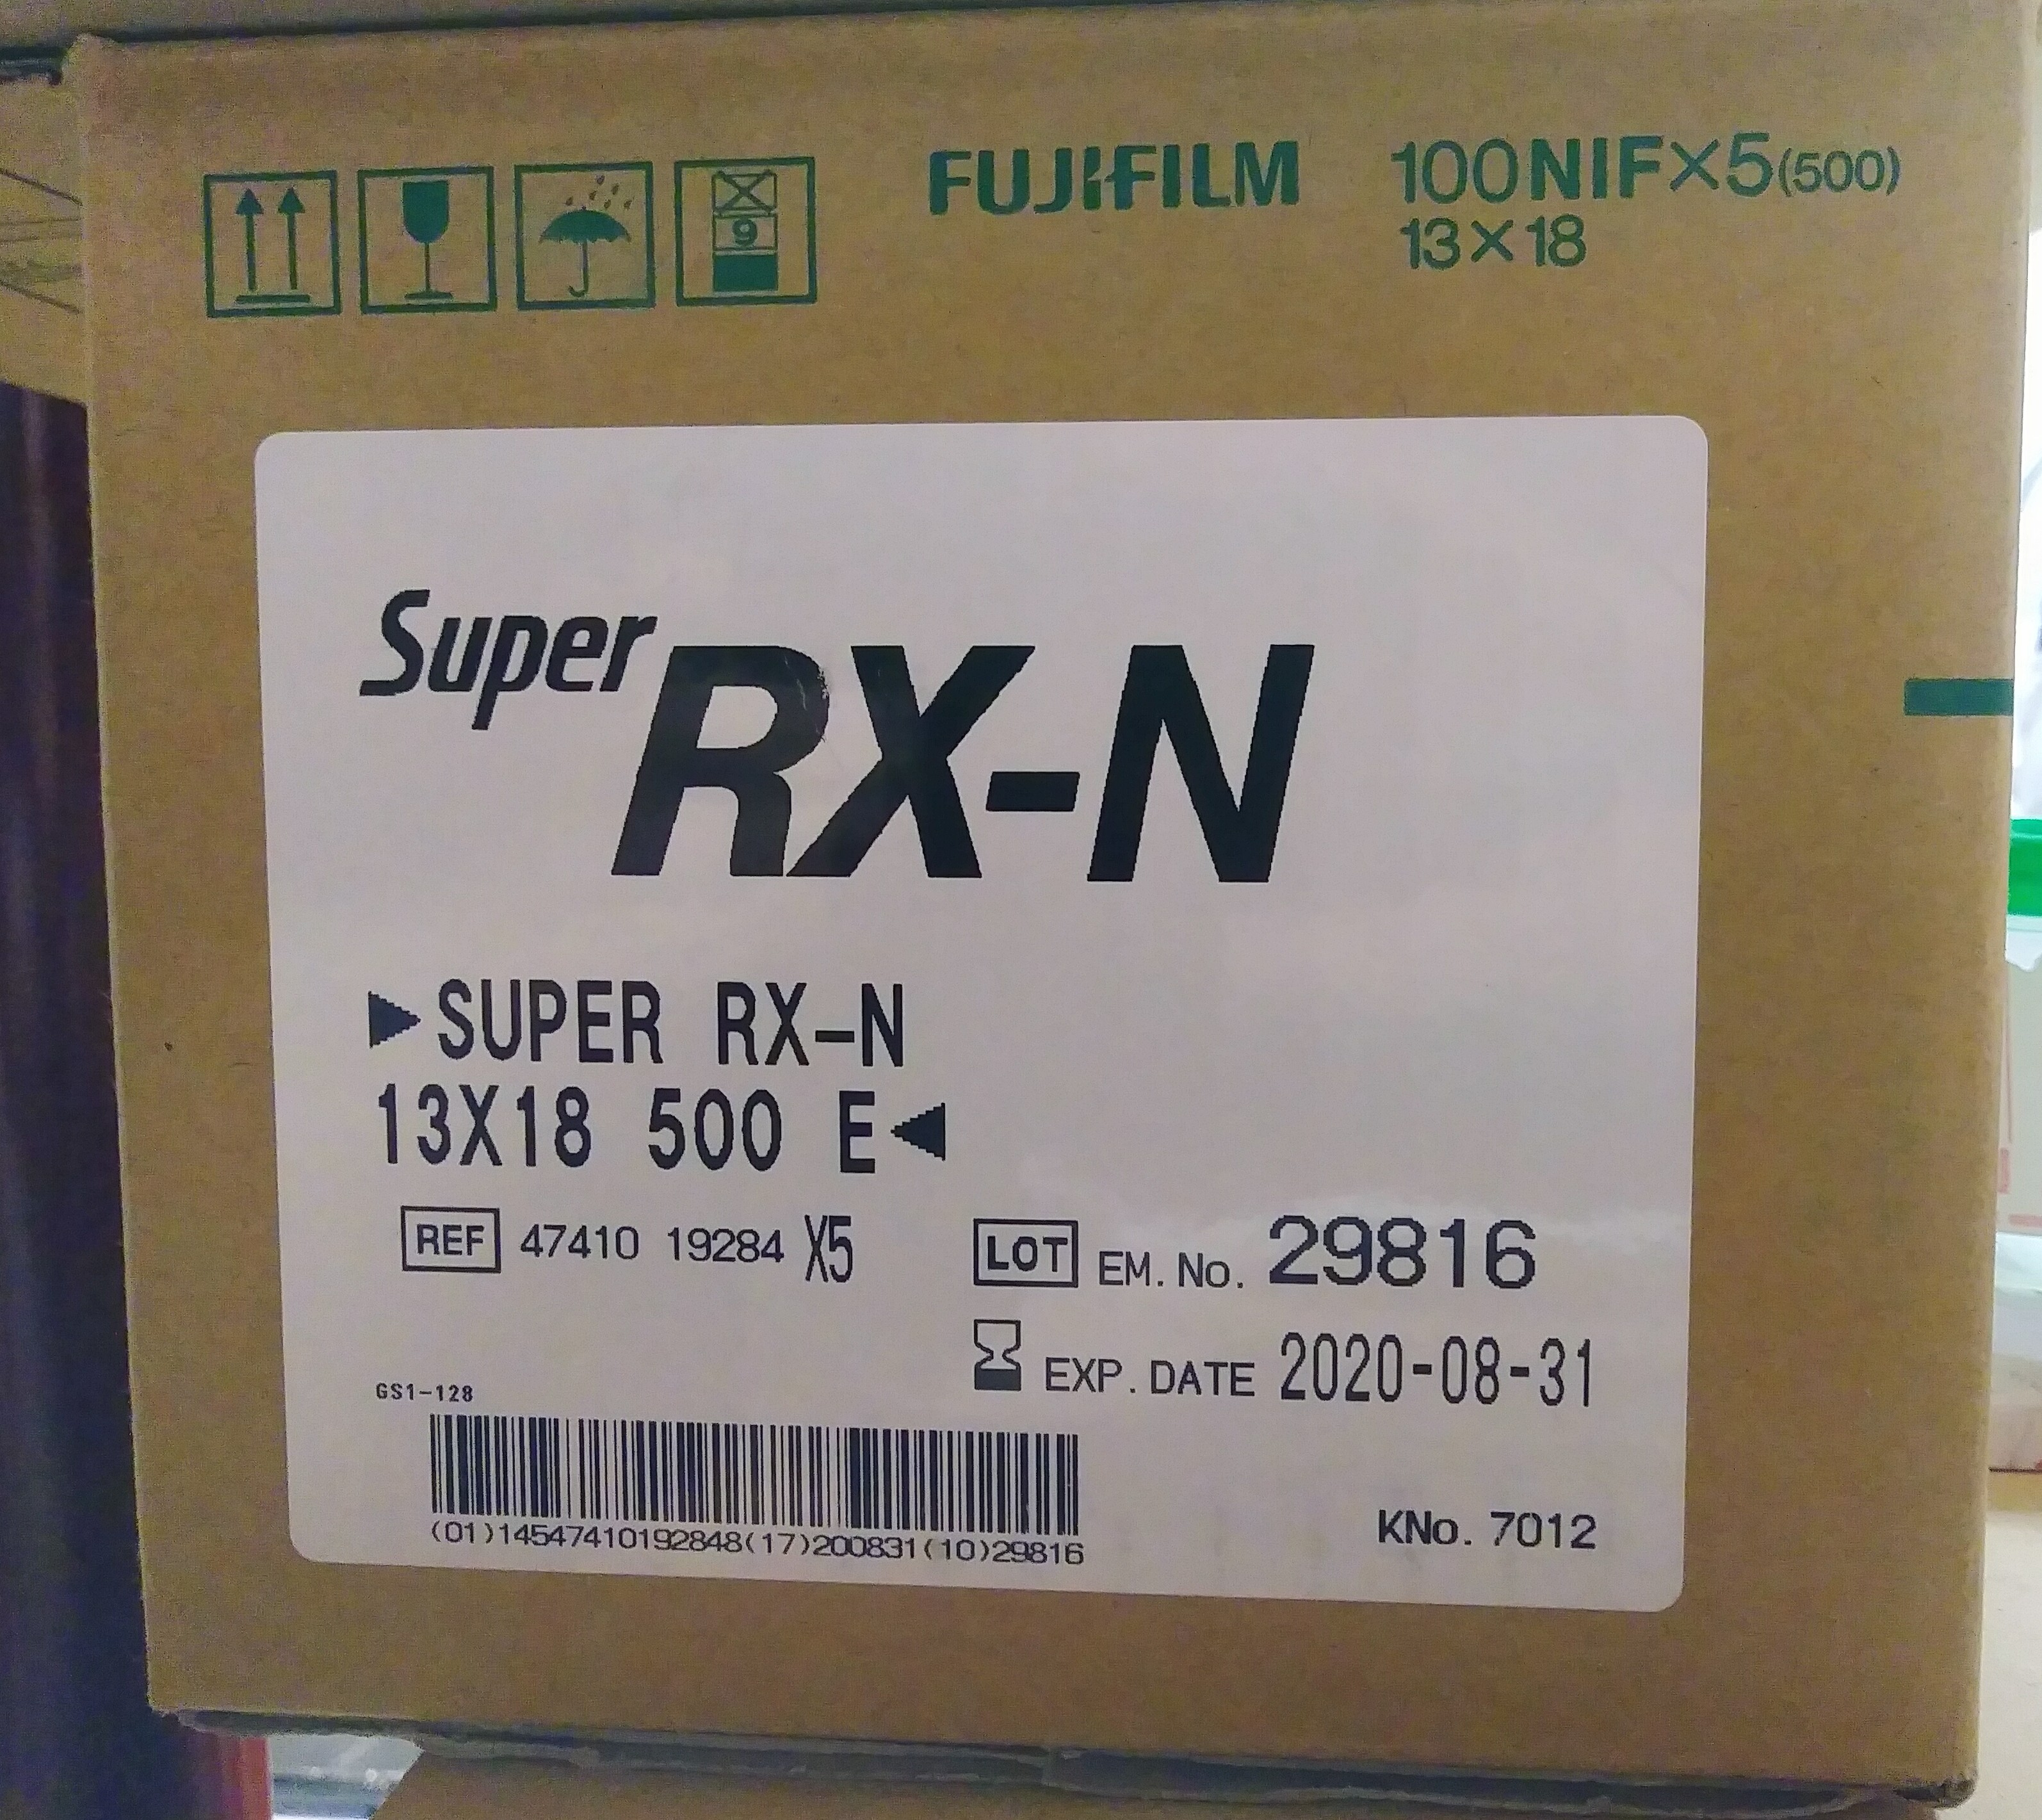
So here’s my camera. It’s a Kodak Vest Pocket Autographic and it takes No. A-127 film. I’m going to teach you to shoot cheap as hell x-ray film in it. See, digital x-rays are becoming a thing but most places that take them still use film, so they still make x-ray film and un-like a lot of stuff that’s intended for a professional setting x-ray film is way the hell cheaper than it’s public sector equivalent, cut film. If you can’t find a box of 100 sheets of 5×7 x-ray film online for $20.00 delivered, keep looking. Buy it. I lucked out couple years ago and ordered a box of 100 sheets but the folks in the warehouse messed up the order and sent me a case. The case has 5 boxes of 100 sheets and I’m only halfway through the first box. The rest is in a freezer.
So we got a camera, and some x-ray film. What else are we gonna need? A guillotine cutter, a changing bag (small is fine), a source of red light, and a closet or room you can make dark. Don’t worry you only need that room for a small part. Find a marker and some tape, electrical or other black tape is ideal but failing that you can get by with plain old masking tape and a scrap of tin foil. You’ll also need a developer of your choice HC-110 or Rodinal or Diafine, or Pyro, pretty much any film developer. You can’t go wrong with Diafine or HC-110. And something to do the developing in, trays or a daylight tank that’s big enough (what’s big enough? keep reading), or even just some ziplock bags.
Sacrifice a sheet of your x-film and take it out. Hold it up to the back end of your camera and mark out how big a piece it takes to not-quite-cover the rear of the camera. You want to mark it so that it’s not quite as tall as the cameras narrowest rear dimension and not so long as to hit any curves the camera might have on it’s longest dimension. For a 127 like my Autographic, 2 & 1/4 by 3 & 1/4 is a hair on the small side, but just fine. If you want, make it a bit more like 3 & 1/2 on the long side. Put the rest of the sheet aside for a moment and take off the back of the camera.
If you’re using one of the big folding Brownie’s then you can actually see the rear of the lens and the folded bellows, really the whole area that’ll frame your photo. Lay the sheet you cut down on there and make sure it’s big enough that it won’t fall inside or slide around but small enough the back will still fit over it. Cut the first piece down or use the remnant to make a bigger piece if you need. If you’re using a little 127 Autographic like me, turn the round cover on the back to expose the internals and slide the film inside to make sure it’s going to fit. If you’re camera has a B or T shutter setting you can use that now to see if the focus is accurate.

Take your tape and if it’s black and thick that’s enough, just tape all over the red window on the back of your camera. Tape all around the edges and anything else you think light might leak through. See all of these sorts of camera would normally use paper-backed film so they aren’t terribly light tight to begin with. If your using a thin or normal masking tape you can layer on some aluminium foil to get that light-proof capacity. By now you should know what we’re doing. Take your film template into a windowless closet with your guillotine and chop down some film.
Now go out and shoot. Yup, you’re gonna have to go into your changing bag with the camera everytime you shoot a frame, and that might actually be a good thing. You’ll spend more time considering if the shots worth taking if you gotta burn a couple minutes loading after every frame.
When it comes time to develop you need to pick a side of the film you care about and one you don’t. X-ray film has emulsion on both sides and it’s pretty fragile as far as emulsions go so chances are one is gonna get scratched up. My strategy for this is as follows. The Fuji x-ray film I bought has rounded corners. So when I cut down the 5×7 sheets I keep that rounded corner. Then I adopt the rule, when the rounded corner is in the top right, I’m looking at the emulsion. When I load it emulsion faces the lens, when I develop it (usually in PVC tubes in a daylight tank) the emulsion faces the developer.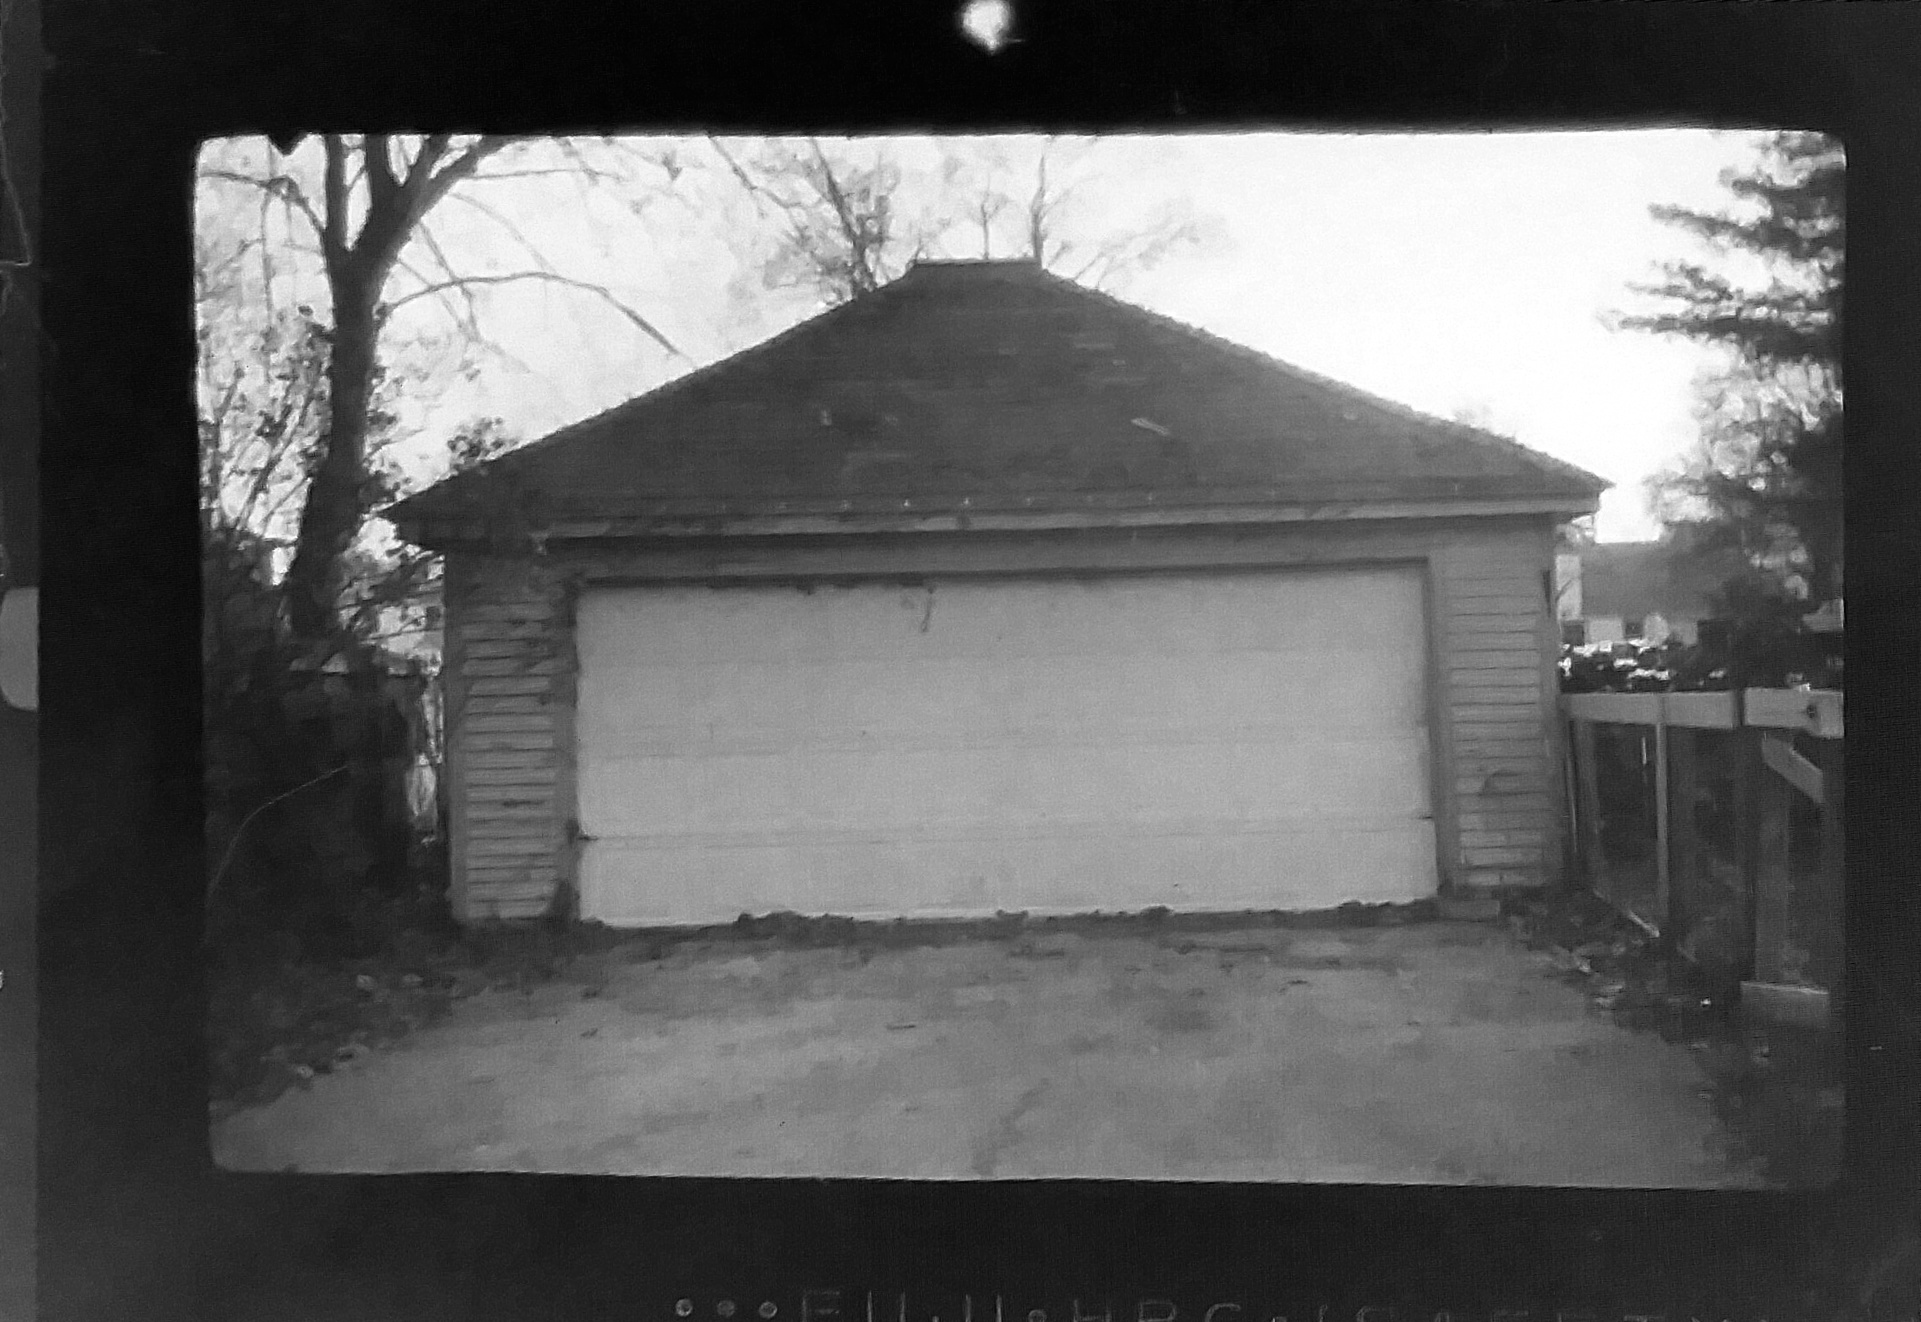
The great thing about x-ray film is that it’s all orthochromatic, so you can always develop it under red light if that’s convenient. Try and do at least a few sheets in the developer of your choice to figure out how long to process for. Here’s my recommended jumping off points:
PMK pyro: 12minutes
Diafine: 3 minutes each A & B
HC-110: 6 minutes
When you’re all developed and fixed and washed and dry take a look at your negatives. If one side is really scratched up you might want to bleach off the scratched side of the emulsion. That’s wicked easy. Just tape down your negative on a plain white sheet of paper. Tape all four edges so that the good side of the emulsion is down and sealed off. Then grab a bottle of plain old laundry room bleach and a folded over sheet of paper towel. Lightly soak the towel, pressing it over the open lid of the bottle and doing a quick flip is my preferred method, you want it wet but not dripping, then wipe off the scratched emulsion. When that’s done give the paper a quick rinse under a faucet and then peel everything up so you can hang the now thinner but nicer looking sheets to dry.
If like me your first attempt shows a honking big light leak, go ahead and apply more tape.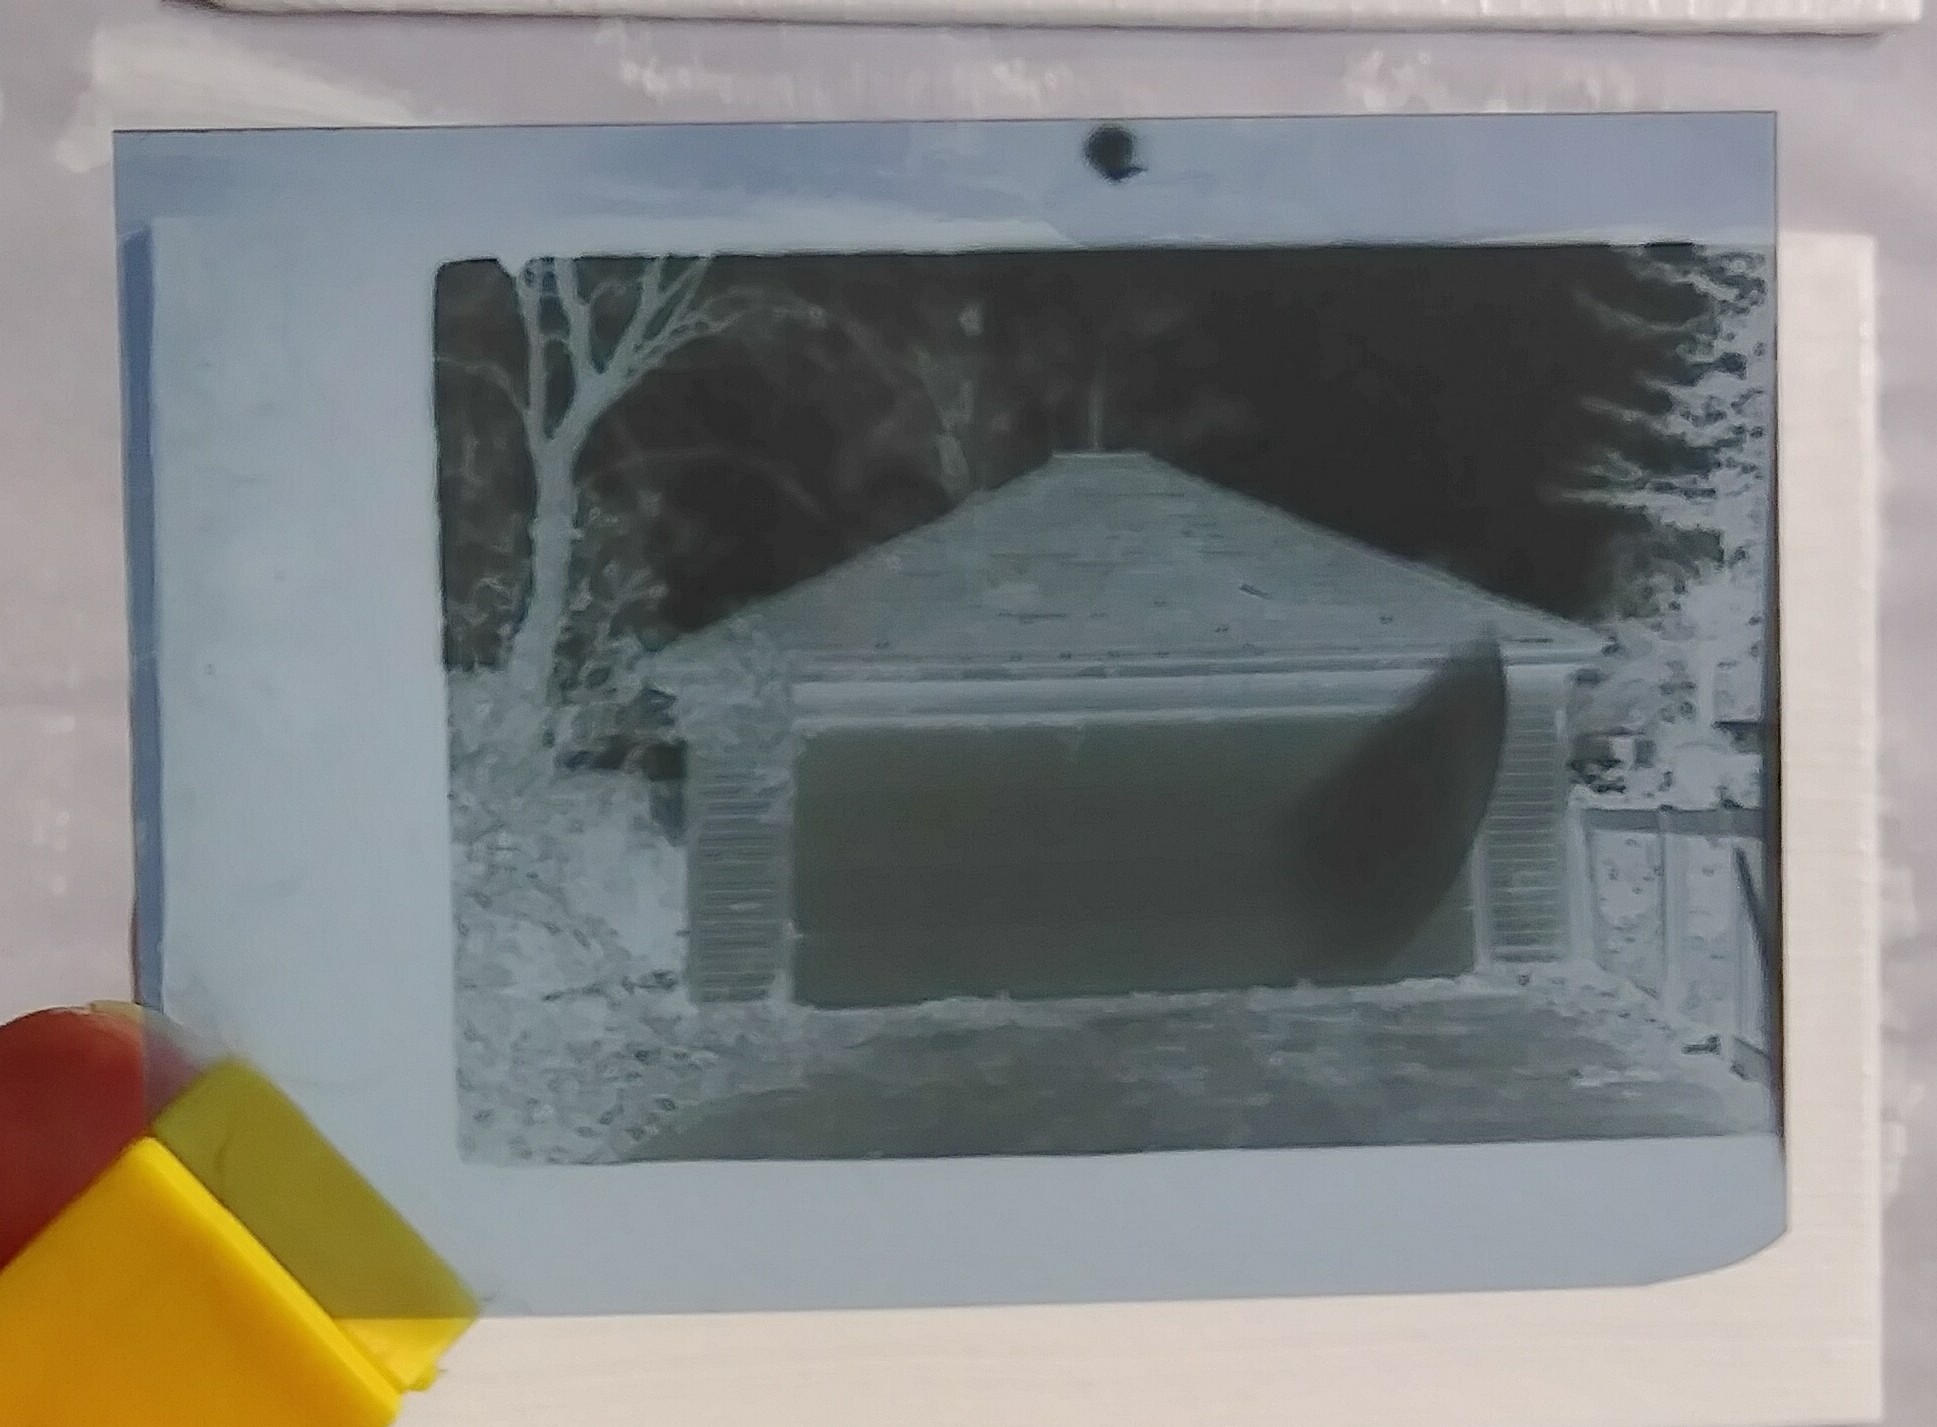
A few more notes about shooting x-ray film:
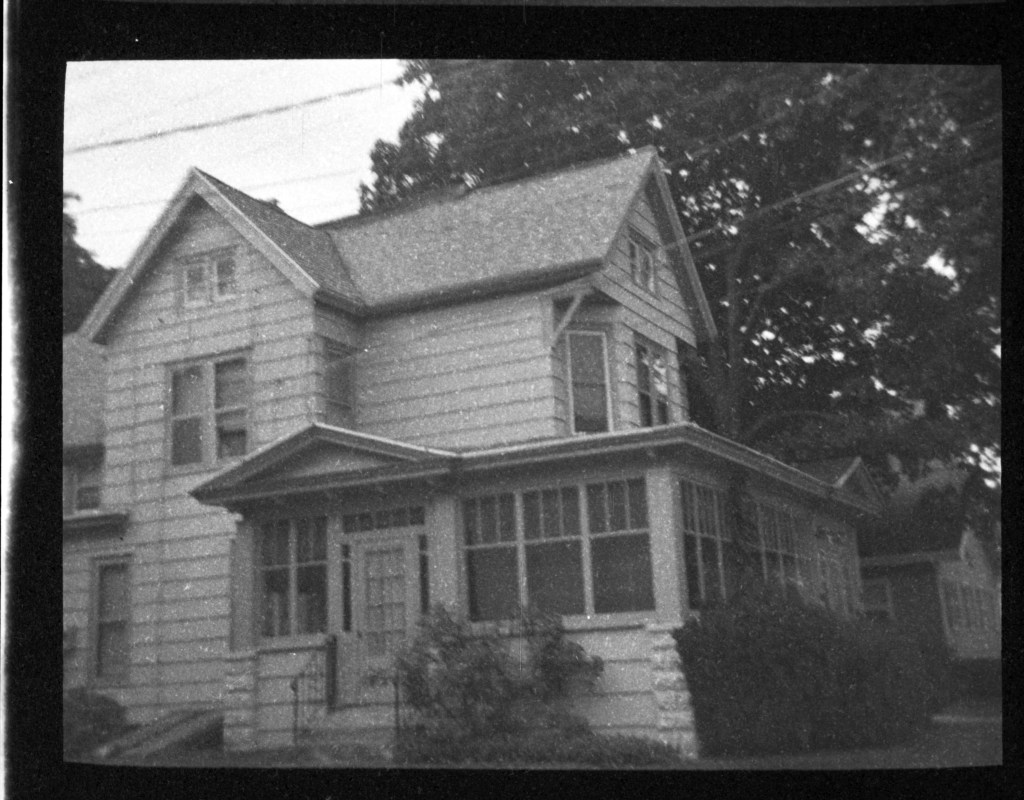
This is strictly a sunny daylight film. You don’t want to shoot indoors and this isn’t going to get you very far if your under deep in shade in the woods. The ASA is going to be in the neighborhood of 25, which is actually a feature not a bug. The cameras we’re dealing with here are from a time when 25 or 50 was just about the fastest film going. Couple that with the age of the springs in your shutter and x-ray film is near perfect for these old cameras. There’s generally two sorts of x-ray film, green-sensitive and blue-sensitive. Blue-sensitive will get you more milage in the open on overcast days, and green-sensitive will get you more milage under cover on sunny days. Plan accordingly. Because it’s blind to red light you can pretty much use any red light you have handy as a safelight, a cell phone showing a full screen solid red image, a red bicycle tail-light, a string of red holiday lights, a night-light bulb with a coat of red paint, just about anything. Because it’s so-so-so-sunlight dependant you don’t need a perfectly black room for your darkroom. If you just can’t get the light to stop creeping in under the door, don’t worry, it’s not going to fog, not bad anyway. Note the sky in the positive above, it’s white. X-ray film is blue sensitive and the sky is blue so get ready to have blinding white skies if you choose to have them in your photos. You can’t knock it down with a red filter, because, you know, orthochromatic film. A yellow filter can help a little with the sky, and a green can help you with skin tones, but it’s generally a better bet to just not include any sky in you shots.
Anyway, my post on Arista Ortho-Litho 3.0 has been pretty popular so I figured why not one on the joys of Fuji Super RX-N X-Ray Film? Hope you liked it.